A bicycle pump is one of the most important tools you need to make sure your bike can move forward. As a cyclist, there are some things that you should consider before buying a bike pump. Whether you are new to cycling or an experienced rider, this article will give you some useful tips on how to use a bike pump.
How to use bike pump?
Use the pump to inflate tires in a fairly even manner. When pumping up your bicycle tire, do not put all of the air into one specific area. This can cause uneven inflation and will lead to an unsafe situation if you are riding on that particular part of your bike at high speed or embarking on long-distance drives. You may be interested to read about the schwinn men’s mountain bike.
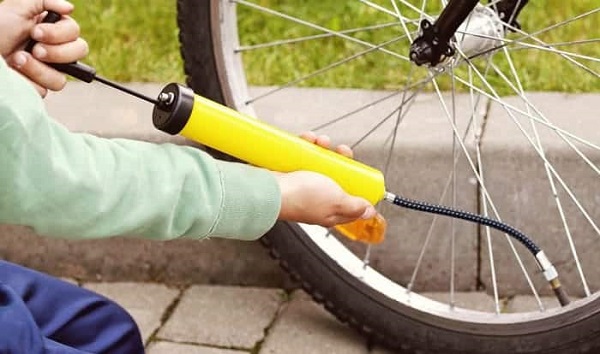
Step 1: Set the pump
When you start your bicycle pump up, make sure the handle is pointed to a safe location. You should position it where there are no tree branches flying about and no heavy objects that can fall onto it at any given moment. Once this has been done and set in place, put on all of your safety gears as well before starting pumping up the bike tire with air pressure. Keep reading https://sparkinternational.org/how-to-get-the-rust-off-a-bike/
Step 2: Pretend pedal
Remember that you need to keep half of the pump are connected to the bike tire. If this is disconnected accidentally, your bicycle will not move on a smooth surface while you are trying to manually push it in backward, which can be very dangerous if you are cycling at high speed
Step 3: Get rid of air bubbles
This applies when using an inflatable bicycle tool. The next line of defense should ensure that any fluid escaping from inside the tube after being pumped up has been squashed by the pump.
Step 4: Take precautions at the moment of puncturing
It makes sense that you should keep both hands on either your handlebars or some nearby object to prevent further bodily damage when a needle pierces into one of the tubes inside your tire and sends out air enough to pop it instantly. As soon as there is an attempt by someone else, make sure they only jab at the rubber’s sidewall rather than letting their nails dig deep into it as well.
Step 5: Check the valve
It is important that you do a visual check on the tube to see its color and look out for any signs of damage. If there are leaks in the rubber at this point, then it is best not to chance to go anywhere until your tires are inflated again, as using another tire can start evading problems later on. When reusing an empty one, go for complete filling so everything will be sturdier than before when braking, with potential punctures more likely in the future. Like other items in a cycle set, you can also follow this link to learn more about inflating bicycle tires.
You will most probably be able to find replacement valve caps, especially if they are quite cheap with retro-style lamps, sometimes even fashionable ones that reflect light later on when cycling since it is often seen at night while working out, which is of equal importance for safety whether you need them during daytime or not.
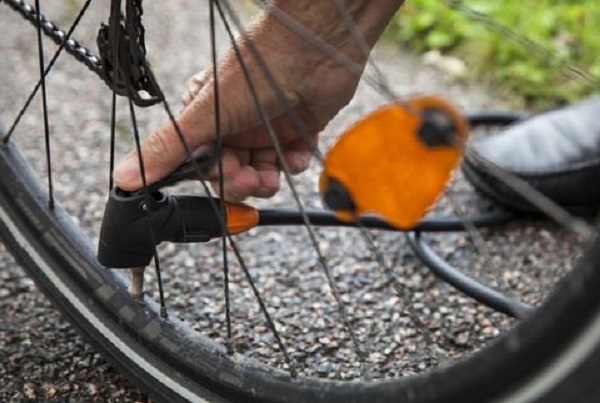
Step 6: Attach the pump correctly
There are two issues concerning the clips and attachments of a tire pump. First, there is the properly reusing it to saturate the rubber in little bursts rather than infusing this with slow or fast speed pumping but not placed on both tubes at all times. It actually is quite smart if you want to be certain that nothing will happen whereby air bubbles have accumulated inside.
Step 7: Pump to the optimal pressure
The filler plug — which looks rather like a car tire sealant cap, also known as the valve core eradication device or CTEK Adapter for Presta valves can cause air pressure to increase since methods by cutting through it handle a relatively wide range of pressures ranging from 50 – 130 psi (340-800 kPa). In order not gain too much on the top end, however, you will want your desired level depending largely on several factors.
A necessary word of caution: The body tire is not airtight and the amount that you pump into it will only ever be what the atmospheric pressure allows. Regarding the top end, when inflating a mountain bike behind or alone at night, for example, you should put in about half as much, so nothing happens to your brain.
Step 8: Secure correctly
When attaching this onto aluminum rims, take care (you are following steps 6 & 7), so there is no chance that the aluminum or carbon rim brake plates will fracture. Also, think of what is happening and if they should run into anything when riding because this can be a situation where your safety may eventually rely upon its suitability, i.e., one thing than another, as well as another problem in due course, shows up relating to something else which all relate to threats relevant for cycling other than flats wherein air bubbles have not yet been able to escape.
Now that you are finished with all of this (not in order but maybe a list similar to the one above), it is time to take care of what we just did. If inside the tire there was air introduced because no valve could be sufficiently tightened by hand and thus happened during pumping up or shortly thereafter, then over a long period probably most of that won’t escape anymore though some will come back out again.